
Mold Resources
When learning how to remove mold from shower caulking, it’s important to understand that the primary objective is to ensure all contamination is thoroughly eradicated. Even remnants of dead mold can cause ongoing exposure and potential health risks for residents. Therefore, using bleach to tackle this indoor problem is not recommended.
Mold develops root-like structures called hyphae, so it's essential to use methods and products to effectively remove the entire fungal colony, including these roots. Other contaminants, such as mycotoxins and bacteria, which are often challenging to eliminate, should also be addressed. So, how do you remove mold from shower caulking and all the contamination that goes along?
How to Remove Mold From Shower Caulking:
Wear protective gear, including masks and gloves.
- Fill a spray bottle with 6% hydrogen peroxide if available.
- Spray the affected area and let the hydrogen peroxide sit for at least 10 minutes.
- Wipe the area with a microfiber towel.
- Repeat the process at least twice, ensuring you use a clean side of the towel each time to remove any remaining mycotoxins and bacteria.
If mold reappears quickly, you should consider removing the old caulk, thoroughly cleaning the area, and applying new caulk. Incorrectly applied caulk can leave tiny gaps into which mold can penetrate. These gaps can also allow mold to get behind the tile and cause even bigger issues in your bathroom. Recaulking can help eliminate this potential by ensuring a clean and even application of caulk forms a complete seal. Remember, newer caulk is far less porous than old caulk. Check for antimicrobial silicone caulks if you choose to recaulk your shower or tub, as they will provide additional protection against mold growth.
While working, inspect the area carefully. If you notice the wall behind the caulk is damp or has mold, this suggests a more severe problem. Knowing how to remove mold from shower caulking is important, but you must also ensure it doesn’t just come right back. Resolving the underlying issue that caused the moisture is crucial to prevent mold from returning. Mold inside the wall requires immediate attention and removal, often necessitating professional intervention. A qualified inspector can assess the extent of the contamination and identify the source of moisture, allowing a remediation team to address the problem effectively.
If mold resurfaces after recaulk, it's also advisable to seek professional help to determine the underlying cause of the persistent microbial growth.
Why Does Mold Grow on Caulk?
Now you know how to remove mold from shower caulking, but why does it pop up in the first place? This is a great piece of awareness to know to avoid it! Showers can easily become an ideal breeding ground for mold. These are areas with higher moisture levels relative to the rest of the home, typically experiencing higher temperatures than the rest of the home, and provide mold with all the nutrients needed for it to take root and flourish. Soap scum, skin cells, and other organic matter can all be used as a food source.
Shower calking, in particular, is a common area for mold to grow. When caulking is freshly applied, it serves as an impermeable barrier, forming a seal between joints and in nooks and crannies of your bathroom. Over time, however, as caulking ages and degrades, it becomes more porous. These tiny pockets trap moisture and organic material, making them ideal areas for spores to begin growing opportunistically.
A side note: sometimes you will hear about mildew in showers, as compared to mold. While mildew certainly sounds less harmless, it just refers to a category of ‘mold” and should be treated the exact same way.
How to Prevent Mold on Shower Caulking
The best way to deal with mold on shower caulking is to prevent it from occurring in the first place.
Here are some tips to get you started:
Clean the liner, curtain, rod, and rings once a month if applicable
- Separate the liner and curtain if applicable
- Maintain the indoor humidity between 35-50 percent by cracking a door or window and turning on the exhaust fan while showering. If the humidity doesn’t lower to the right level, consider investing in a dehumidifier for the room
- Squeegee the shower after use
- Deep clean the bathroom regularly
- Resolve structural issues like misaligned tiles and aging grout as soon as they’re spotted because they can trap moisture and particles, allowing microbial growth
- Regularly check for structural issues such as misaligned tiles and aging grout
- Wash porous materials like bath mats, towels, and liners with a botanical laundry additive like EC3
- Hanging up the shower mat, towels, washcloths, and anything else damp after use
- Clean the shower head once a month
Showing all 3 results
-
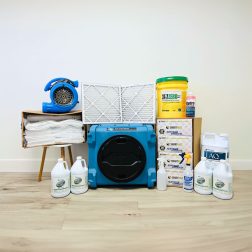
HomeCleanse DIY
All the equipment and materials we use to remediate your home, plus consultation and support...
-
Shop Now -
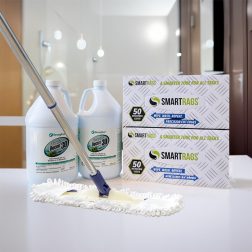
HomeCleanse Cleaning
Take your cleaning to the next level buying all the tools we use to keep...
-
Price range: $299.00 through $549.00 Shop Now -
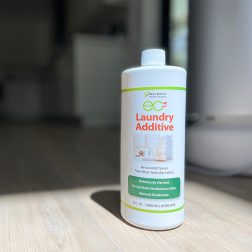
EC3 Laundry Additive
Add EC3 to every rinse cycle to rinse away mold, bacteria and musty odors from...
-
$23.00 Shop Now
Still Have Questions?
A member of our team is here to help! Click on “Get Started ➤” below to book a consultation with a member of the HOMECLEANSE team. We have a few quick questions that will help us put together a roadmap to solve or prevent all of your mold problems.
Two minutes of your time could lead to better health for you and your family.